In this section, you will be shown how to create Blazor WebAssembly applications from the standard project templates using both the command line and Visual Studio. Then you will go through the generated files and learn about their role within the application.
To begin, you need to download and install the latest .NET Core Software Development Kit (SDK). Blazor is only available from .NET Core 3.0 onward, so you should ensure that you install at least that version. You can check the version of available SDKs on your system by opening a command prompt and executing dotnet --list-sdks :

Create the application
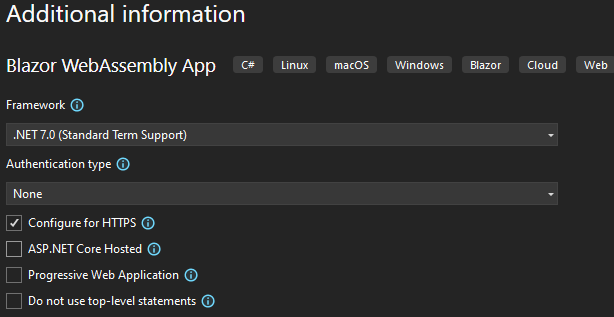
If you are using Visual Studio, choose Create New Project » Blazor WebAssembly App and provide a name and location for the application. Click Next, and ensure that the Additional Information settings specify None for the Authentication type, and that only Configure for HTTPS is checked:
If you are using the command line (standalone or from within a code editor like Visual Studio Code) create a directory where you want to place the application files, and then navigate to that directory in the command prompt. Then type
dotnet new blazorwasm
Both of these approaches result in roughly the same file structure within the application folder:
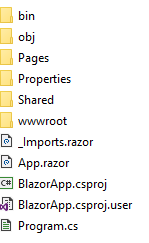
An MS Build Project file (.csproj), used by the build system to compile the application and manage references. Can be extended to include tasks to be executed as part of the build process.
A Program.cs file containing code responsible for building and running a host for the application. All ASP.NET Core applications are actually console applications. From .NET 6, the Program.cs file makes use of a C# feature called top-level statements, which results in the
Mainmethod you might expect to see here being omitted. You also use this file to register services with the dependency injection system that the application needs. The basic template include a registration for the HttpClient service.App.razor is the entry point to the application, having been defined as the root component in Program.cs. It is a Razor Component and includes other Razor components.
Imports.razor - this file is used to bring various namespaces into scope within Razor components so that types can be referenced without having to use their fully qualified names. For example,
System.Net.Httpis imported so that you can reference theHttpClientclass within components without having to prefix the type with its namespace (e.g.System.Net.Http.HttpClient).Pages folder - contains three Razor component files, each one representing a page in the application. There is nothing particularly significant about the name of the folder in a Blazor application. It is a convention used in the Razor Pages framework for files that are intended to be browsed.
Shared folder, containing non-page Razor Components (Layout and snippets of UI).
wwwroot folder containing an index.html file that hosts the application, and static site content such as style sheets.
obj folder - contains artefacts used to build the application. Many of these are temporary. You can delete this folder safely. It will be regenerated whenever you run a Build command.
If you created the application using Visual Studio, you will also see a bin folder, which is where the compiled binaries are placed when the application is built. This folder is automatically created whenever the Build command is executed if it doesn't already exist.
In addition, Visual Studio creates a .csproj.user file, containing individual user settings for the project workspace within VS. VS also creates a solution, which represents a collection of projects. The project itself is placed within the solution folder by default. Information about the solution, such as the name and location (on disk) of all projects is stored in a .sln file.
Launch the application
If you are using Visual Studio, press Ctrl+F5 to run the application. Visual Studio will launch a browser. If you have built the application using the command line, execute dotnet run in the folder containing the .csproj file . You should get confirmation that the application was launched successfully, and the URLs at which it can be found:
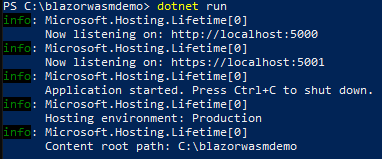
Usually, the application will run on ports 5000 and 5001 (HTTPS). Open a browser and navigate to https://localhost:5001. The home page opens:
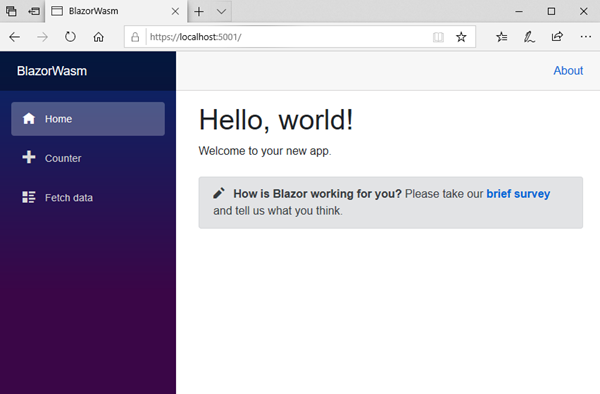
Blazor applications are based on Components. The top and left hand side (navigation menu) are controlled by the layout component (MainLayout.razor) in the Shared folder. The menu itself is provided by the NavMenu component, also in the Shared folder.
The content in the right hand side is provided by the Index component in the Pages folder. It includes an HTML h1 heading and the Welcome message, and the content of another component, the SurveyPrompt component (which is located in the Shared folder):
@page "/"

<h1>Hello, world!</h1>

Welcome to your new app.

<SurveyPrompt Title="How is Blazor working for you?" />
The first line of code is Razor - C# embedded into HTML. It defines the route that this component is to be located at.
Click the Counter navigation item next:
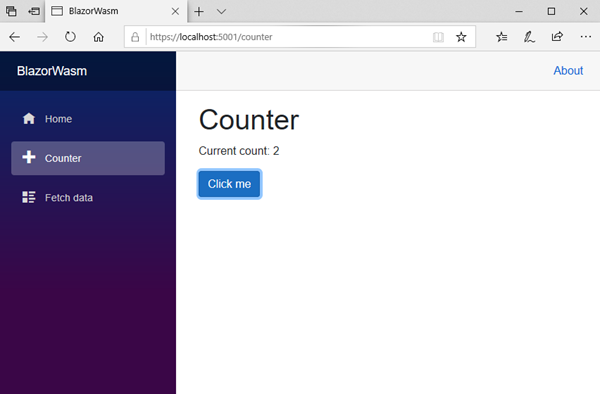
This page features a button and some content displaying the current count of button clicks. If you click the button, the current count increments by 1. The page acts as a very basic demonstration of Blazor's data binding capabilities.
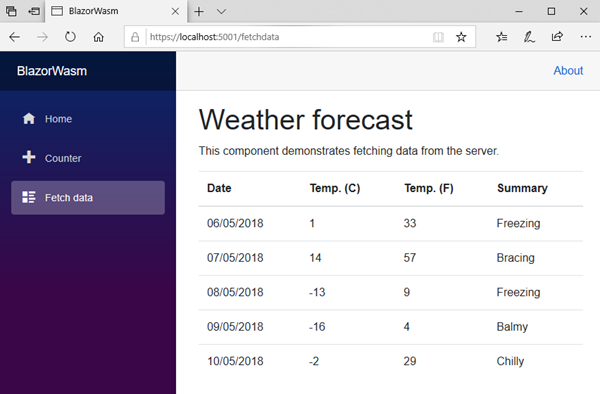
Next, click the FetchData navigation item. The content area fills with weather forecast data obtained via an instance of the HttpClient class which is injected into the component. The data itself is in JSON format, stored within the sample-data folder in wwwrooot.
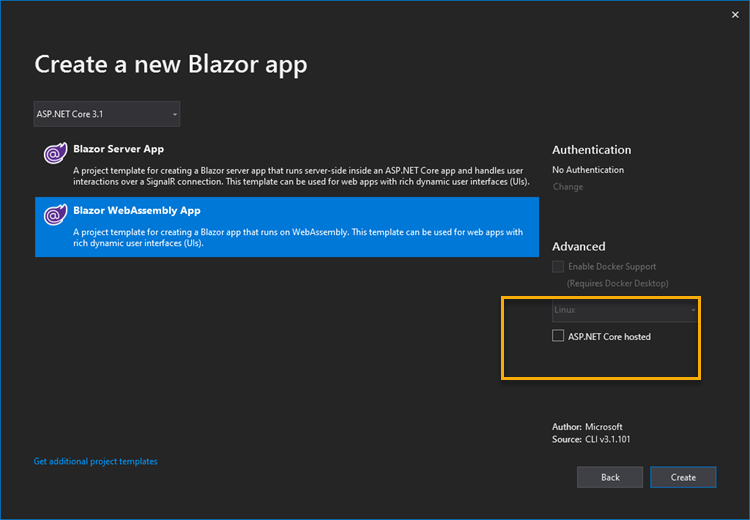
ASP.NET Core Hosted Version
Data-driven Blazor applications in the real world more commonly obtain their data from HTTP-based services, or Web APIs rather than static files. The ASP.NET Core Hosted project template illustrates the kind of architecture that you are more likely to adopt to facilitate this. You can generate an application using this template by checking the ASP.NET Core Hosted option when generating a new project:
If you are using the CLI directly to build you application, add the --hosted (or -ho) switch to the dotnet new command:
dotnet new blazorwasm --hosted
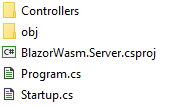
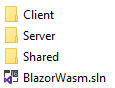
Functionally, the resulting application is identical to the previous one, but the file structure is completely different. The application is generated as a Visual Studio solution consisting of three projects: Client, Server and Shared:
The Client project includes most of the same content as the previous template:

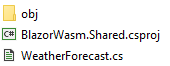
The Shared project is a class library project consisting of a class file defining the WeatherForecast type, which is defined in the Forecast component in the previous template. Defining types in a project like this facilitates sharing them among other projects. The Shared project is referenced in both the client and the Server projects.
Finally, the Server project is an ASP.NET Core project representing a web service, featuring a Web API controller. The controller generates and returns its own data. In a real world application, the data will more likely come from a database: